 Crahift
£740 to £870, three weeks
The bare frame commuter
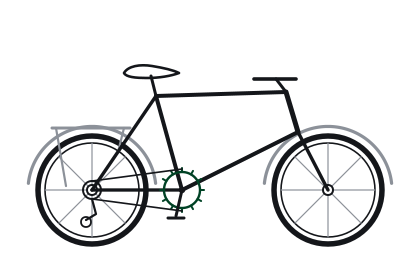
A 1990s steel frame that came out of a loft in two carrier bags, turned into a bike that does seven miles a day in the wet and needs almost nothing doing to it.
 £740 to £870
 Three weeks
The brief
The owner had a frame and forks, a headset that had seized, and nothing else. The commute was seven miles each way, most of it on wet road, all year. They had been through two supermarket bikes in three years and were tired of it.
What they asked for was blunt and useful: something that works in January, that does not need adjusting every fortnight, and that nobody wants to steal off a rack outside an office.
That last point mattered more than it sounds. It ruled out anything shiny, and it pushed us towards parts that are good but unremarkable.
What we chose, and why
One chainring instead of three
The original frame had mounts for a front derailleur and we left them empty. A single chainring with a wide range cassette gave enough gears for the route, and it removed a shifter, a cable, an outer, and a derailleur that would have needed cleaning every winter.
Fewer things to adjust is not a compromise on a commuter, it is the point. This is the single change that most reduces how often a winter bike needs attention.
A dynamo front wheel, so lights are never the problem
Battery lights get forgotten, run flat, and get stolen off the bracket. A dynamo hub means the lights are simply always there. We built the front wheel around one, 36 spokes, three cross, brass nipples.
It is the most expensive single decision on the bike and the one the owner has thanked us for most.
Rim brakes, deliberately
The frame had no disc mounts and we did not want to hunt for an adaptor. Long reach calipers with cartridge pads clear the mudguards and the 35mm tyres, and replacement pads cost a few pounds and take two minutes. On a bike whose whole purpose is not being a nuisance, that matters.
Frame prep nobody sees
The bottom bracket shell was full of paint and the faces were not parallel. We chased and faced it, reamed the seat tube, and pressed in a new headset. None of this is visible and all of it is why the bike does not creak.
Tyres and mudguards chosen for one job
35mm tyres with a puncture belt and a reflective sidewall, and full length metal mudguards with a proper mudflap. Wet roads throw grit at the drivetrain, and a mudguard that stops fifty centimetres short of the ground does very little. If you are choosing tyres for a route like this, we wrote up the reasoning in choosing tyres for mixed roads.
What it cost
Parts came to between £330 and £460, the spread depending mostly on the dynamo hub. Our labour was £280 for frame prep, the full build and setup, plus £130 for the front wheel build, which is our normal rate for a wheel.
Total, £740 to £870. For context, that is roughly what a mid range new commuter costs, on a frame that will outlast three of them.
How long it took
Three weeks. One week of that was our fault, we ordered a headset in the wrong stack height and had to send it back. One week was the wheel build, which we deliberately do not rush.
The actual assembly was two afternoons.
What we would tell the next person
If you have a decent old steel frame, the frame is almost never the reason to walk away. It is the cheapest good part of the bike and it is already paid for.
The thing to be honest with yourself about is the total. Building up a bare frame properly is rarely cheaper than buying a new bike of the same quality. It is better, and it lasts, and you get exactly what you want. But if you are doing it to save money, it will disappoint you. Our custom builds page says the same thing more directly.
Where to go next
A touring bike for six weeks away
Another one written out in full, with the parts and the reasoning.
Go there Service
Custom builds
What we include, what we do not, and what it costs.
Go there
Contact
Start a conversation
Tell us the brief and we will tell you honestly if we are the right workshop.
Go there